![White Mage's Bunny's Crescent Staff [3D Printed Kit] 3D Printed Kit cosplay DangerousLadies](http://dangerousladies.ca/cdn/shop/products/white-mages-bunnys-crescent-staff-3d-printed-kit-246548.jpg?v=1751892890&width=320)
![Lady Seiros' Sword [3D Print Files] 3D Files cosplay DangerousLadies](http://dangerousladies.ca/cdn/shop/products/lady-seiros-sword-3d-print-files-441339.jpg?v=1751894865)
![Lady Seiros' Sword [3D Print Files] 3D Files cosplay DangerousLadies](http://dangerousladies.ca/cdn/shop/products/lady-seiros-sword-3d-print-files-521365.jpg?v=1751894865)
![Lady Seiros' Sword [3D Print Files] 3D Files cosplay DangerousLadies](http://dangerousladies.ca/cdn/shop/products/lady-seiros-sword-3d-print-files-183867.jpg?v=1751894865)
![Lady Seiros' Sword [3D Print Files] 3D Files cosplay DangerousLadies](http://dangerousladies.ca/cdn/shop/products/lady-seiros-sword-3d-print-files-740040.jpg?v=1751894865)
![Lady Seiros' Sword [3D Print Files] 3D Files cosplay DangerousLadies](http://dangerousladies.ca/cdn/shop/products/lady-seiros-sword-3d-print-files-621372.jpg?v=1751894865)
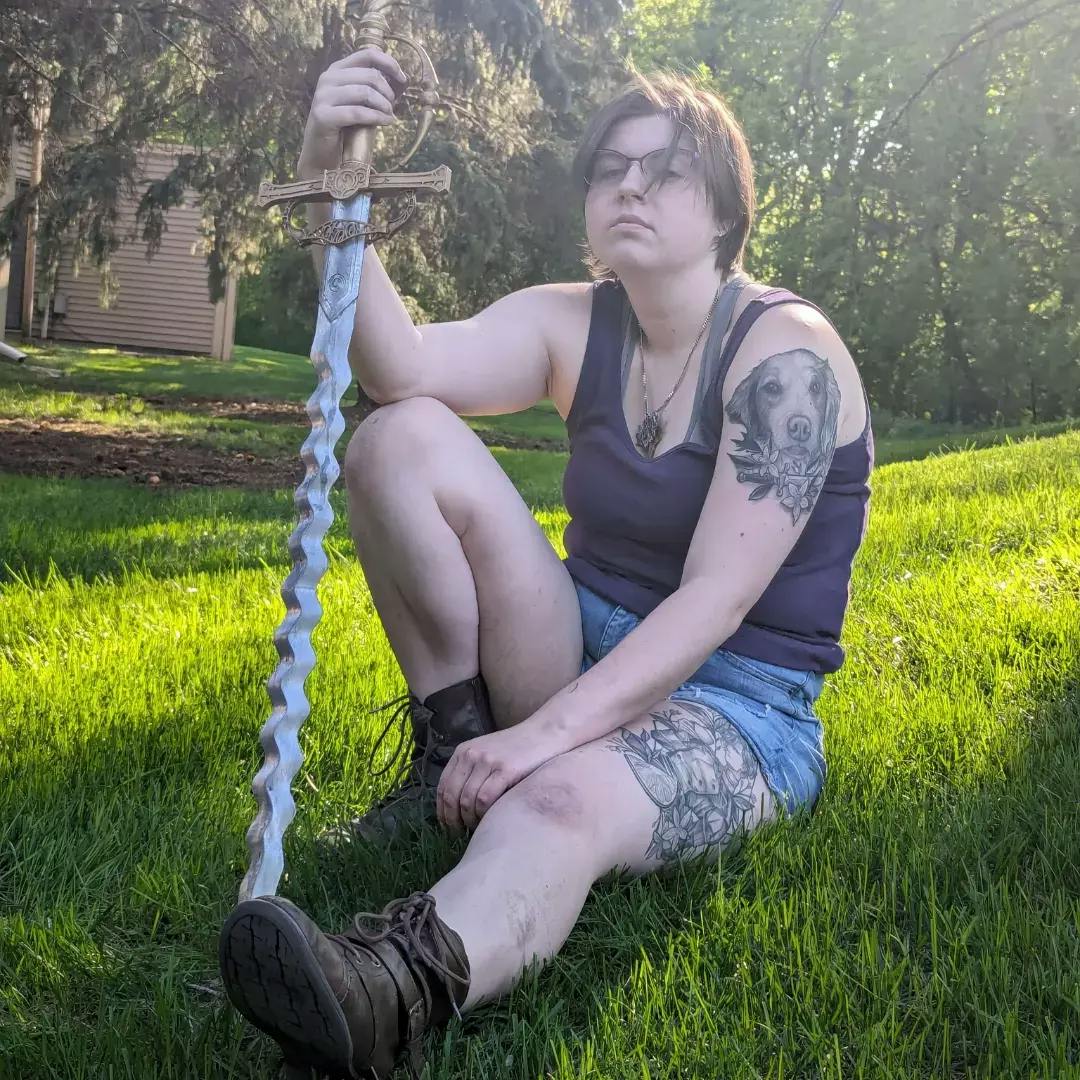
Dangerous Ladies' 3D model for Lady Seiros' Sword
Model by Jennifer Rezny (@quicksparrows)
.stl format. Pre-sliced for printing on a a 150mm, 200mm or 300mm bed.
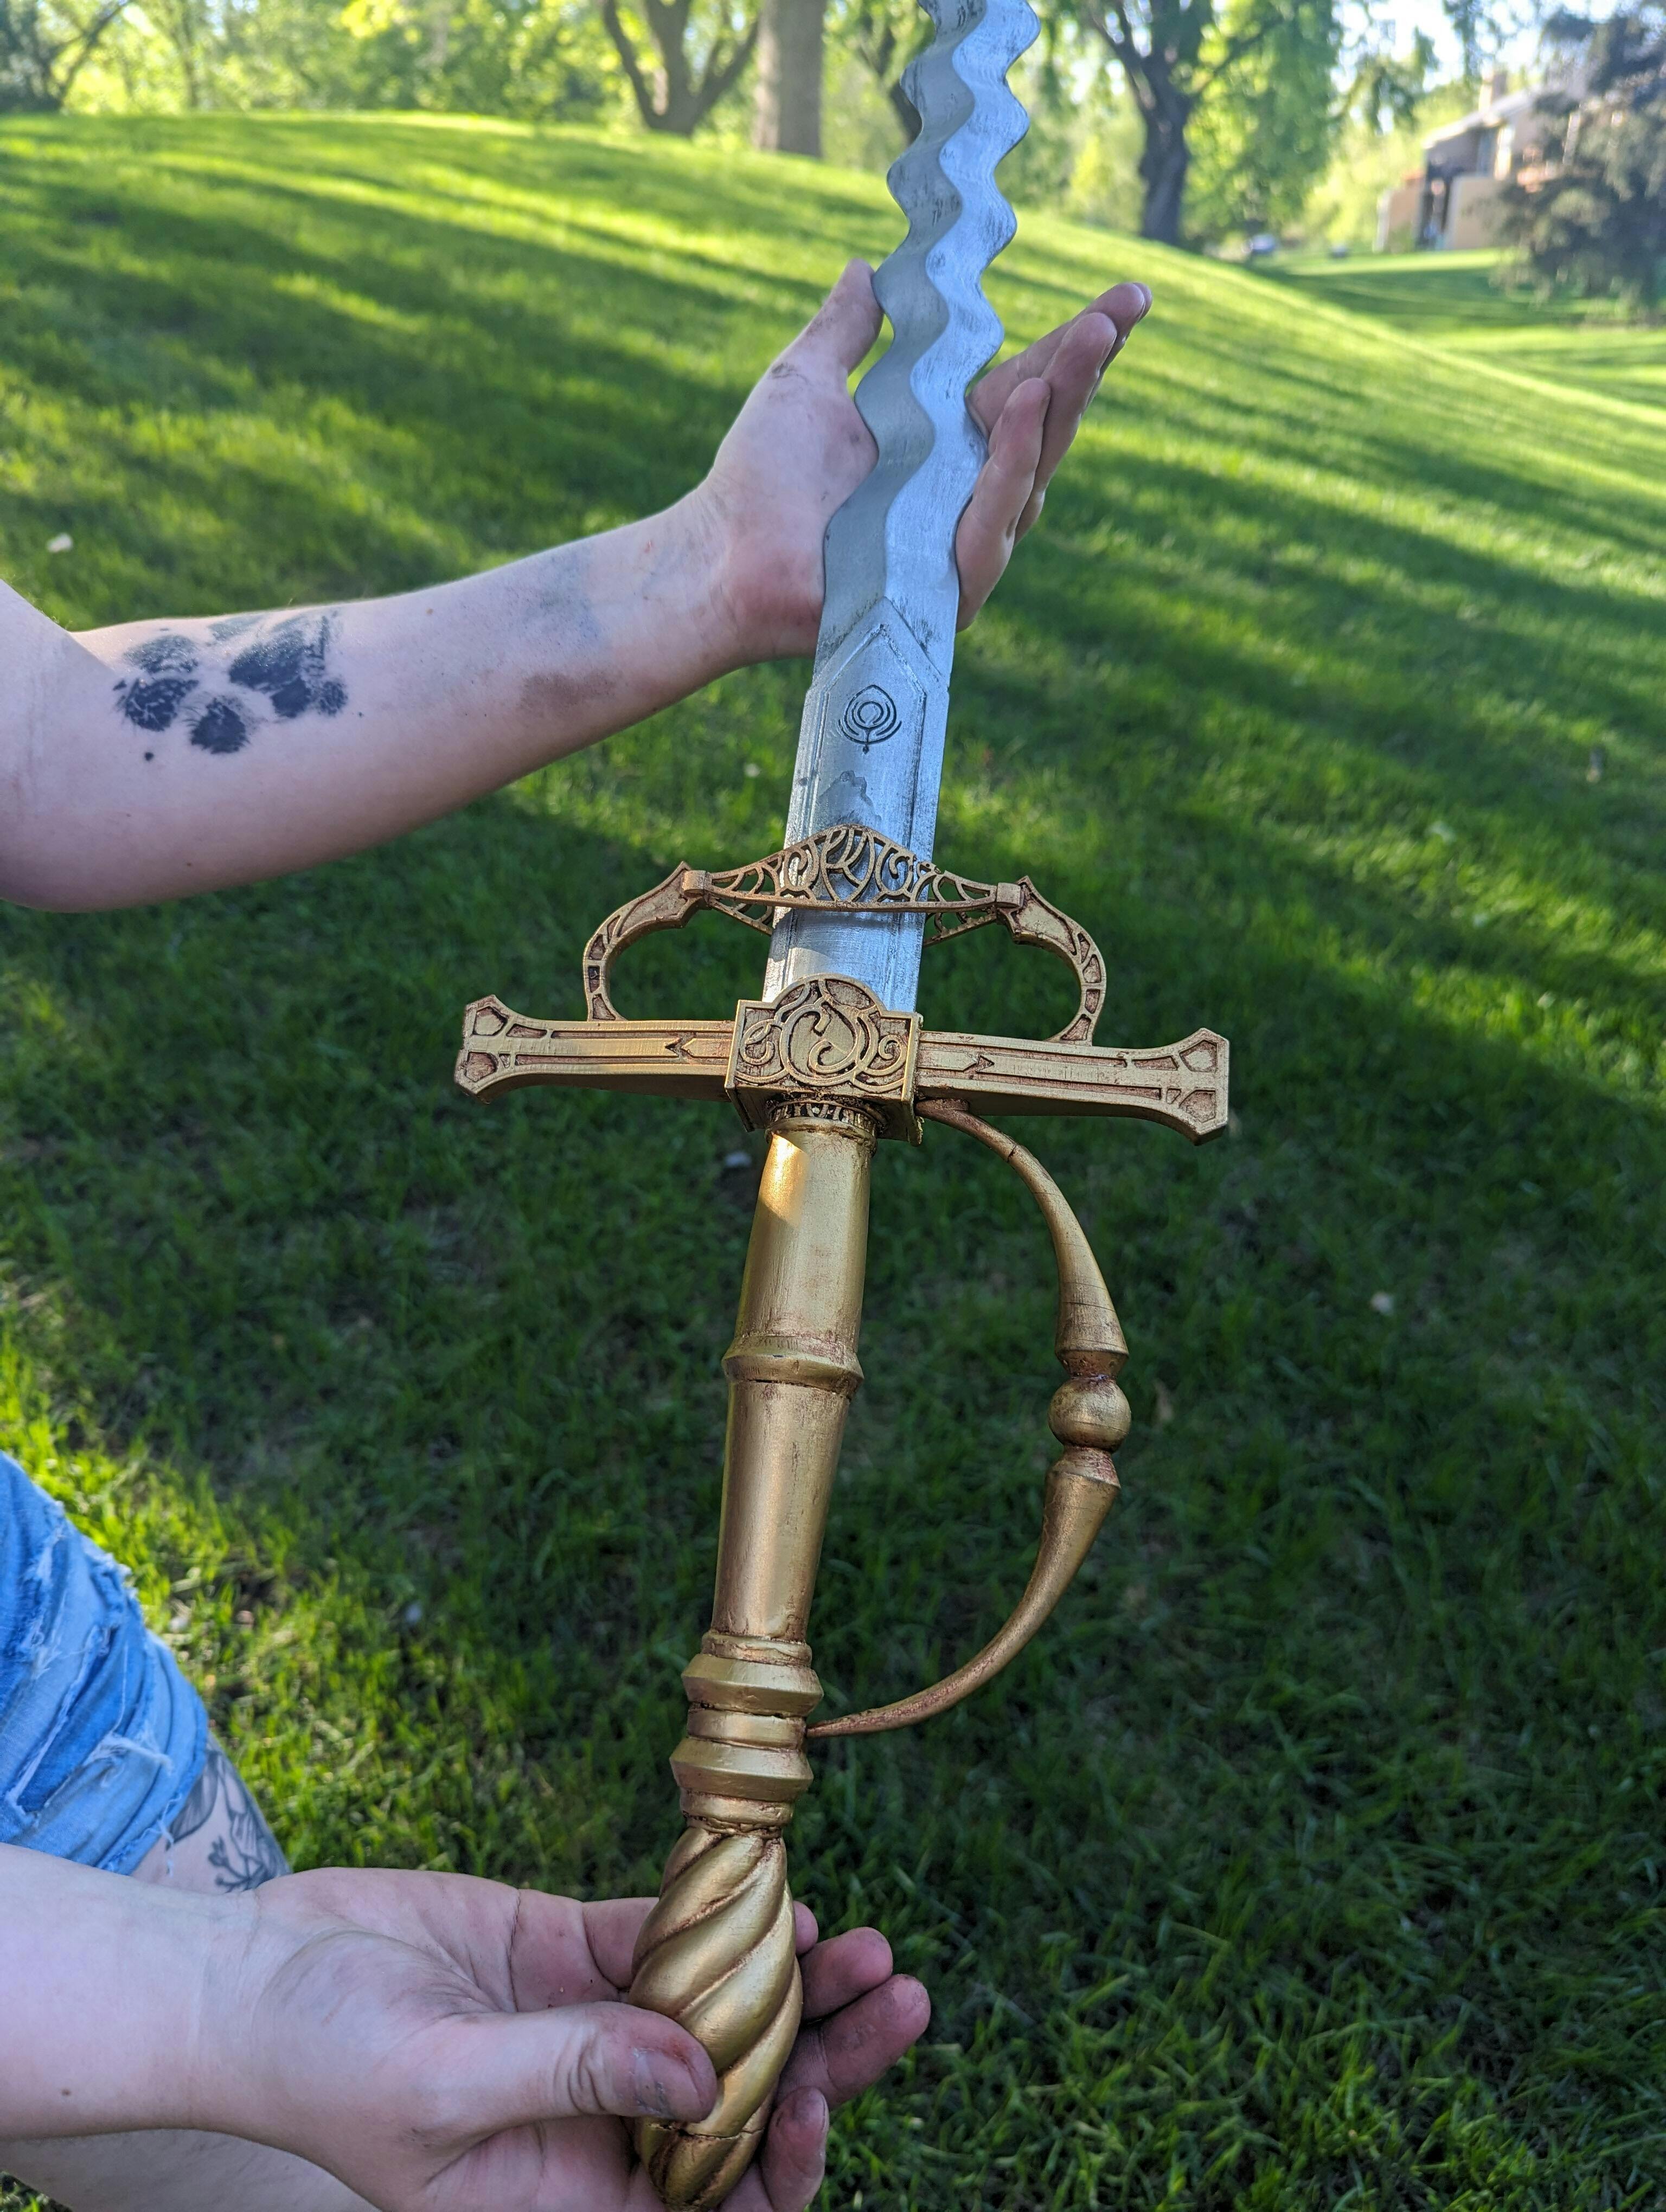
The sword finishes around 42". It requires a 39.25" long dowel (1/4" diameter) for the inside; we suggest aluminum because it is stronger while also being lightweight, but steel and wood work just fine too.
The crossguard has a whole version and a split version; the split version uses pegs to connect back together. You must print both sides; if you try to mirror one, the curved hand guard piece will not connect properly. I have included a file for the pegs for the crossguard but you can just cut two 1cm long pieces of 1/8" dowel if you'd like -- or use a couple toothpicks!
Files include:
- Reference images
- .stl files
We printed ours at 0.1 and 0.15mm layers. We suggest keeping a moderate infill (no lower than 15%) and walls of about 1-1.2mm.
Please do not redistribute or resell. Intended for personal use only. Commercial use must buy a new copy for each item produced.
Feel free to tag us to show us what you print and make! We love to see finished works.
http://dangerousladies.storenvy.com
http://twitter.com/dangerousladies
http://instagram.com/thedangerousladies
Materials: digital file
Model by Jennifer Rezny (@quicksparrows)
.stl format. Pre-sliced for printing on a a 150mm, 200mm or 300mm bed.
The sword finishes around 42". It requires a 39.25" long dowel (1/4" diameter) for the inside; we suggest aluminum because it is stronger while also being lightweight, but steel and wood work just fine too.
The crossguard has a whole version and a split version; the split version uses pegs to connect back together. You must print both sides; if you try to mirror one, the curved hand guard piece will not connect properly. I have included a file for the pegs for the crossguard but you can just cut two 1cm long pieces of 1/8" dowel if you'd like -- or use a couple toothpicks!
Files include:
- Reference images
- .stl files
We printed ours at 0.1 and 0.15mm layers. We suggest keeping a moderate infill (no lower than 15%) and walls of about 1-1.2mm.
Please do not redistribute or resell. Intended for personal use only. Commercial use must buy a new copy for each item produced.
Feel free to tag us to show us what you print and make! We love to see finished works.
http://dangerousladies.storenvy.com
http://twitter.com/dangerousladies
http://instagram.com/thedangerousladies
Materials: digital file

Lady Seiros' Sword [3D Print Files]
SKU: 44063238357309
Instant Download
Email Delivery
Modelled in Canada
Dangerous Ladies' 3D model for Lady Seiros' Sword
Model by Jennifer Rezny (@quicksparrows)
.stl format. Pre-sliced for printing on a a 150mm, 200mm or 300mm bed.
The sword finishes around 42". It requires a 39.25" long dowel (1/4" diameter) for the inside; we suggest aluminum because it is stronger while also being lightweight, but steel and wood work just fine too.
The crossguard has a whole version and a split version; the split version uses pegs to connect back together. You must print both sides; if you try to mirror one, the curved hand guard piece will not connect properly. I have included a file for the pegs for the crossguard but you can just cut two 1cm long pieces of 1/8" dowel if you'd like -- or use a couple toothpicks!
Files include:
- Reference images
- .stl files
We printed ours at 0.1 and 0.15mm layers. We suggest keeping a moderate infill (no lower than 15%) and walls of about 1-1.2mm.
Please do not redistribute or resell. Intended for personal use only. Commercial use must buy a new copy for each item produced.
Feel free to tag us to show us what you print and make! We love to see finished works.
http://dangerousladies.storenvy.com
http://twitter.com/dangerousladies
http://instagram.com/thedangerousladies
Materials: digital file
Reviews
Finishing Guides

Quick Finishing Guide - 3D Printed and Resin Kits
Just purchased a kit? Thanks for supporting us! Don't know where to start in assembling your 3D Print or Resin kit? We've got you covered.

Finishing 3D Prints 101: Basic Supplies for Bodyshopping
This guide is a great follow-along if you've purchased any Dangerous Ladies 3D printed cosplay props. This article is on the basic supplies you'll need for sanding FDM prints, with no...