Description
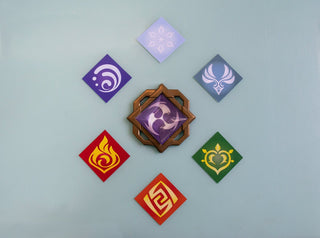
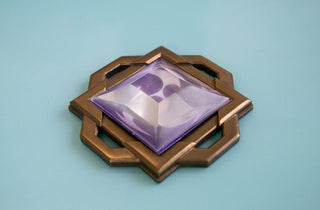
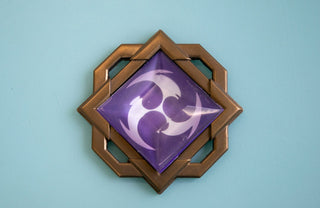
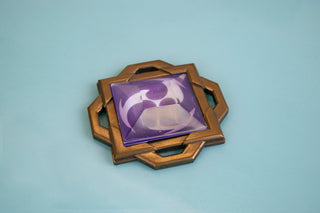
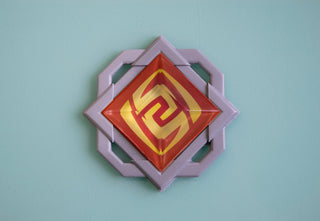
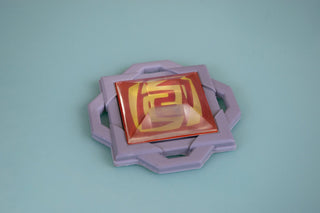
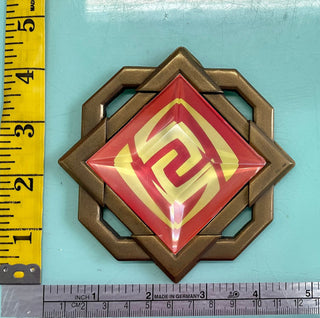
A resin kit for the Liyue Visions. Available in single and double versions, and includes a backing piece for the emblem itself. Available in gold, or plain resin.
You can get a single kit to make a one-sided pendant or a double kit to do a double-sided pendant. If you're planning to bodyshop the seams of the double sided one, we suggest just getting the plain version; sanding the seam will take the gold finish off.
The Vision Gem DOES NOT come glued together. You can attach it to the back with a lot of two-part 5 min epoxy (spread thick to prevent air bubbles!) or you can add your own emblem. (Holographic stickers on the back, painting it on the back, etc.)
The best way we find is to spread the epoxy glue, spread it evenly over the back of the gem, then press it down onto the paper backing. Gently press down to push any air bubbles out and let it dry with a heavy weight on it to keep bubbles out!
If you're adding the gold cold-cast or the embedded emblem, you only need to add it once, even if you're getting a double kit.
Single Kit includes:
- x1 backing
- x1 gem
- x2 backing
- x2 gem
Reviews
Finishing Guides

Finishing 3D Prints 101: Basic Supplies for Bodyshopping
This guide is a great follow-along if you've purchased any Dangerous Ladies 3D printed cosplay props. This article is on the basic supplies you'll need for sanding FDM prints, with no...

Quick Finishing Guide - 3D Printed and Resin Kits
Just purchased a kit? Thanks for supporting us! Don't know where to start in assembling your 3D Print or Resin kit? We've got you covered.

