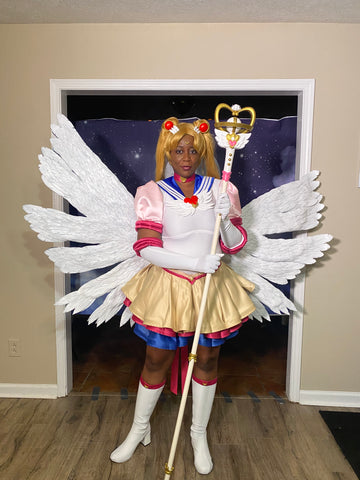
This is an issue that sometimes comes up with 3D printed cosplay props and a question we get when opening up our email inbox.
My dowel (or key) doesn’t fit in my 3D print! What gives?
This is more common than you think, but fixing it doesn't have to be daunting. These tips are also useful if you're printing files on your own at home.
Tip: If before applying any glue to your print, keys, or dowel, do a "dry fit" by assembling the print as best you can without using glue. This will save you stress before pieces are permanently adhered!
There's a couple things that could be causing this, possibly in combination:
Problem: There’s something blocking the dowel channel or key slot.
What that means: The channel/slot inside your print might be blocked somehow. Maybe the printer had a little splurge of filament between filament changes that left a bubble that is now blocking the channel, or there’s a piece of support filament stuck in there. If you can slide a dowel in partway but then it stops, this might be the issue.
Solution: Wrap some sandpaper around a smaller dowel or rigid narrow item and sand the inside of the channel to see if you can loosen up that spot.
Problem: The dowel goes in one side, but not the other/My key won't slide into the slot.
What that means: You are printing too close to the bed. Sometimes if your print is too tight to the bed, you’ll get an elephant foot, where the print bulges out the slightest bit at the bottom. This can create an artificial lip on just the very opening of the channel that blocks the dowel or key from getting in, or grips it so it doesn't slide as well. If you can put the dowel or key in from the top of the print –– the end not facing the bed –– then this is probably the culprit.
Solution: Re-level your bed and adjust your bed temperature. If you’ve already got your parts printed, you can just take a craft knife and run it along that edge to trim that lip so the “foot” isn’t in the way.
Problem: The dowel goes in and then stops, but I can’t see or feel anything blocking the channel.
What that means: If there’s nothing blocking the channel, the dowel itself might be a problem. The number one reason this happens is debris on the dowel, or that the dowel curves/bends at some point along its length. This is because wood can warp or swell with moisture, and many dowels are crooked.
Solution: When buying dowels, look down one of the ends and see if you can see the dowel bending or curving in any direction. Buy the straightest one you can. If you already have, you can gently bend it back into position and clamp it straight for a couple days, ideally in a dry environment.

Problem: The dowel seems too big.
What that means: Dowels are not actually wholly uniform. Some companies producing dowels have inconsistent tolerances that make the dowel anywhere from 0.2-0.5mm narrower or wider than they're supposed to be. We leave a 0.2mm-0.5 tolerance (depending on project) on our dowel channels to ensure there's some extra space, but sometimes the dowels still win out!
Solution: Bring your prints to hardware stores with you to ensure what you get fits properly. Once you find a store that sells dowels that are within a reasonable tolerance, make them your go-to! If you don’t want to print the whole piece, just print the first few layers so you have a “wafer” of your print you can check dowels against.
Problem: The channel seems too small.
What that means: If your machine isn’t well-calibrated or you’re printing at high speeds, the resulting print might be slightly “wobbly”, which eats into tolerance space for dowels and keys. It doesn’t take much wobble to fill in a 0.2mm tolerance. Issues with blobs and zits can create small obstacles too.
Solution: Check your machine’s accuracy by printing a calibration cube and measuring it to make sure your prints are dimensionally accurate. If it is, then your issue is likely with the speed you’re printing at. Longer, slower prints tend to be much more accurate prints!
Problem: I like extra tolerance.
What that means: Sometimes the easiest thing is just to have a bigger hole.
Solution: Print the files at 101%, or the keys at 99%. If you're ordering a kit from us, we can always scale prints for a small fee!
I want to calibrate my 3D Printer and make shopping for dowels easier!
We have a calibration cube, key test, and dowel-sizer that you can download for FREE. The file comes with instructions for use and will fit on just about any printer. Use the calibration cube to test that your prints are dimensionally accurate, the key test for wobble and optimum support settings, and finally the dowel sizer is a convenient tool you can bring with you to the hardware store to test the dowel tolerance.
If none of these solutions are working for you, reach out to us!
We're happy to provide additional support, or answer any of your 3D printing and finishing questions.


