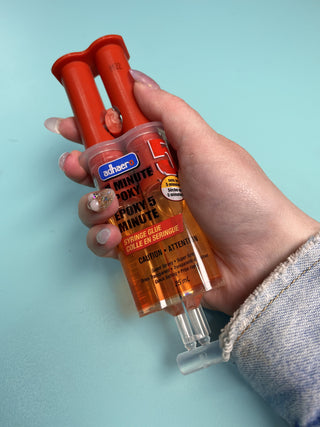
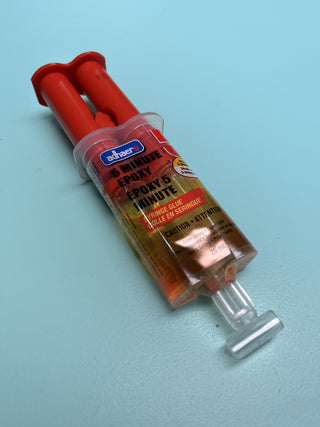
Epoxy for gluing your kits together. We recommend Epoxy over superglue for heavier pieces and this syringe applicator makes it easy to apply and mix without mess.
- We are pausing sales of Epoxy for now, but have left this page up for educational purposes!
Instructions: Make sure to follow all safety warnings on the label and use appropriate PPE when working with crafting materials and tools. Epoxy might irritate your skin, so wear gloves. Keep it away from your mouth, eyes, pets, and kids.
You're going to want a small plastic cup from the dollar store, and something like a wooden popsicle stick for mixing.
- Make sure the surface you're gluing is clean and dry. Score the area to be glued with a craft knife for best results.
- Hold the tube, with the nozzle end up and cut off the tip with scissors. Keeping the nozzle end up, press the plunger slowly to release and trapped air left in the tube.
- Press down on the plunger and empty the epoxy into your plastic cup. Mix it well for about a minute with your popsicle stick, (this epoxy has 5 minutes of cure time, so you don't want it to cure while you're still mixing)!
- Once mixed, apply the epoxy to both surfaces you want to bond.
- Hold together tightly for at least five minutes, (use clamps or weights where possible). Wait at least 30 minutes before handling your prop.
Notes about the pricing: We purchase these tubes of epoxy in bulk from our local dollar store chain since we have bountiful access to this product at dollar-store prices. We realize that it might be more economical for the bulk of our clients to source their own adhesive. We're not profiting on the sale of these; the price just covers shipping materials and handling costs. Our Canadian clients can find similar products at Dollarama! We also realize that clients in other parts of the world have a hard time sourcing materials and crafting products, so we're trying to make it easier!